
Installing Lightroom Presets
Transform Your Photo Editing with Lightroom Presets!
Hey there! Are you tired of spending hours tweaking and adjusting your photos? Well, say goodbye to those endless hours of editing because Lightroom presets are here to make your life so much easier! With just a few clicks, these magical presets can turn your ordinary photos into stunning works of art. Whether you're a professional photographer or a passionate hobbyist, Lightroom presets are about to take your editing game to the next level!
What Are Lightroom Presets?
Before we jump into the exciting installation process, let's take a moment to understand what Lightroom presets actually are. In simple terms, presets are like one-click wonders that instantly apply specific looks or styles to your photos. These pre-determined settings cover everything from exposure and contrast to color grading, all crafted by the expertise of professional photographers and editing gurus.
Benefits of Using Lightroom Presets
Using Lightroom presets comes with a plethora of amazing benefits that will surely revolutionize your editing experience. Let's explore some of these fantastic perks:
Time-Saving: Say goodbye to endless tweaking! With presets, you can achieve consistent and stunning results in a fraction of the time.
Consistency: Keep your photos looking cohesive and professional across the board, whether it's for a project or your Instagram feed.
Creative Inspiration: Discover new editing techniques and develop your own unique style by experimenting with different presets.
Effortless Editing: Even if you're new to photo editing, Lightroom presets make it a breeze to create professional-looking photos.
Now that we've uncovered the amazing benefits of using Lightroom presets, it's time to dive into the installation process and take your editing skills to new heights! Let's get started!
Discover Our Presets Collection
Are you ready to revolutionize your photo editing experience? Explore our diverse collection of Lightroom presets designed to elevate your creative vision and save you valuable editing time. Whether you're a professional photographer or an enthusiastic hobbyist, our presets are here to transform your photos into stunning works of art with just a few clicks.
TEN SIX Photography Preset Collections
How to Install Lightroom Presets
Installing Lightroom presets is a straightforward process that can be done on both desktop and mobile platforms. In this section, we will guide you through the steps for both. Once you have downloaded the presets to your computer or mobile device. Make sure to remember the location where you saved the files, as you will need them in the next steps.
Installing Lightroom Presets on Desktop
If you're using Lightroom on your computer, follow these steps to install the presets:
Open Lightroom: Launch the Lightroom application on your desktop.
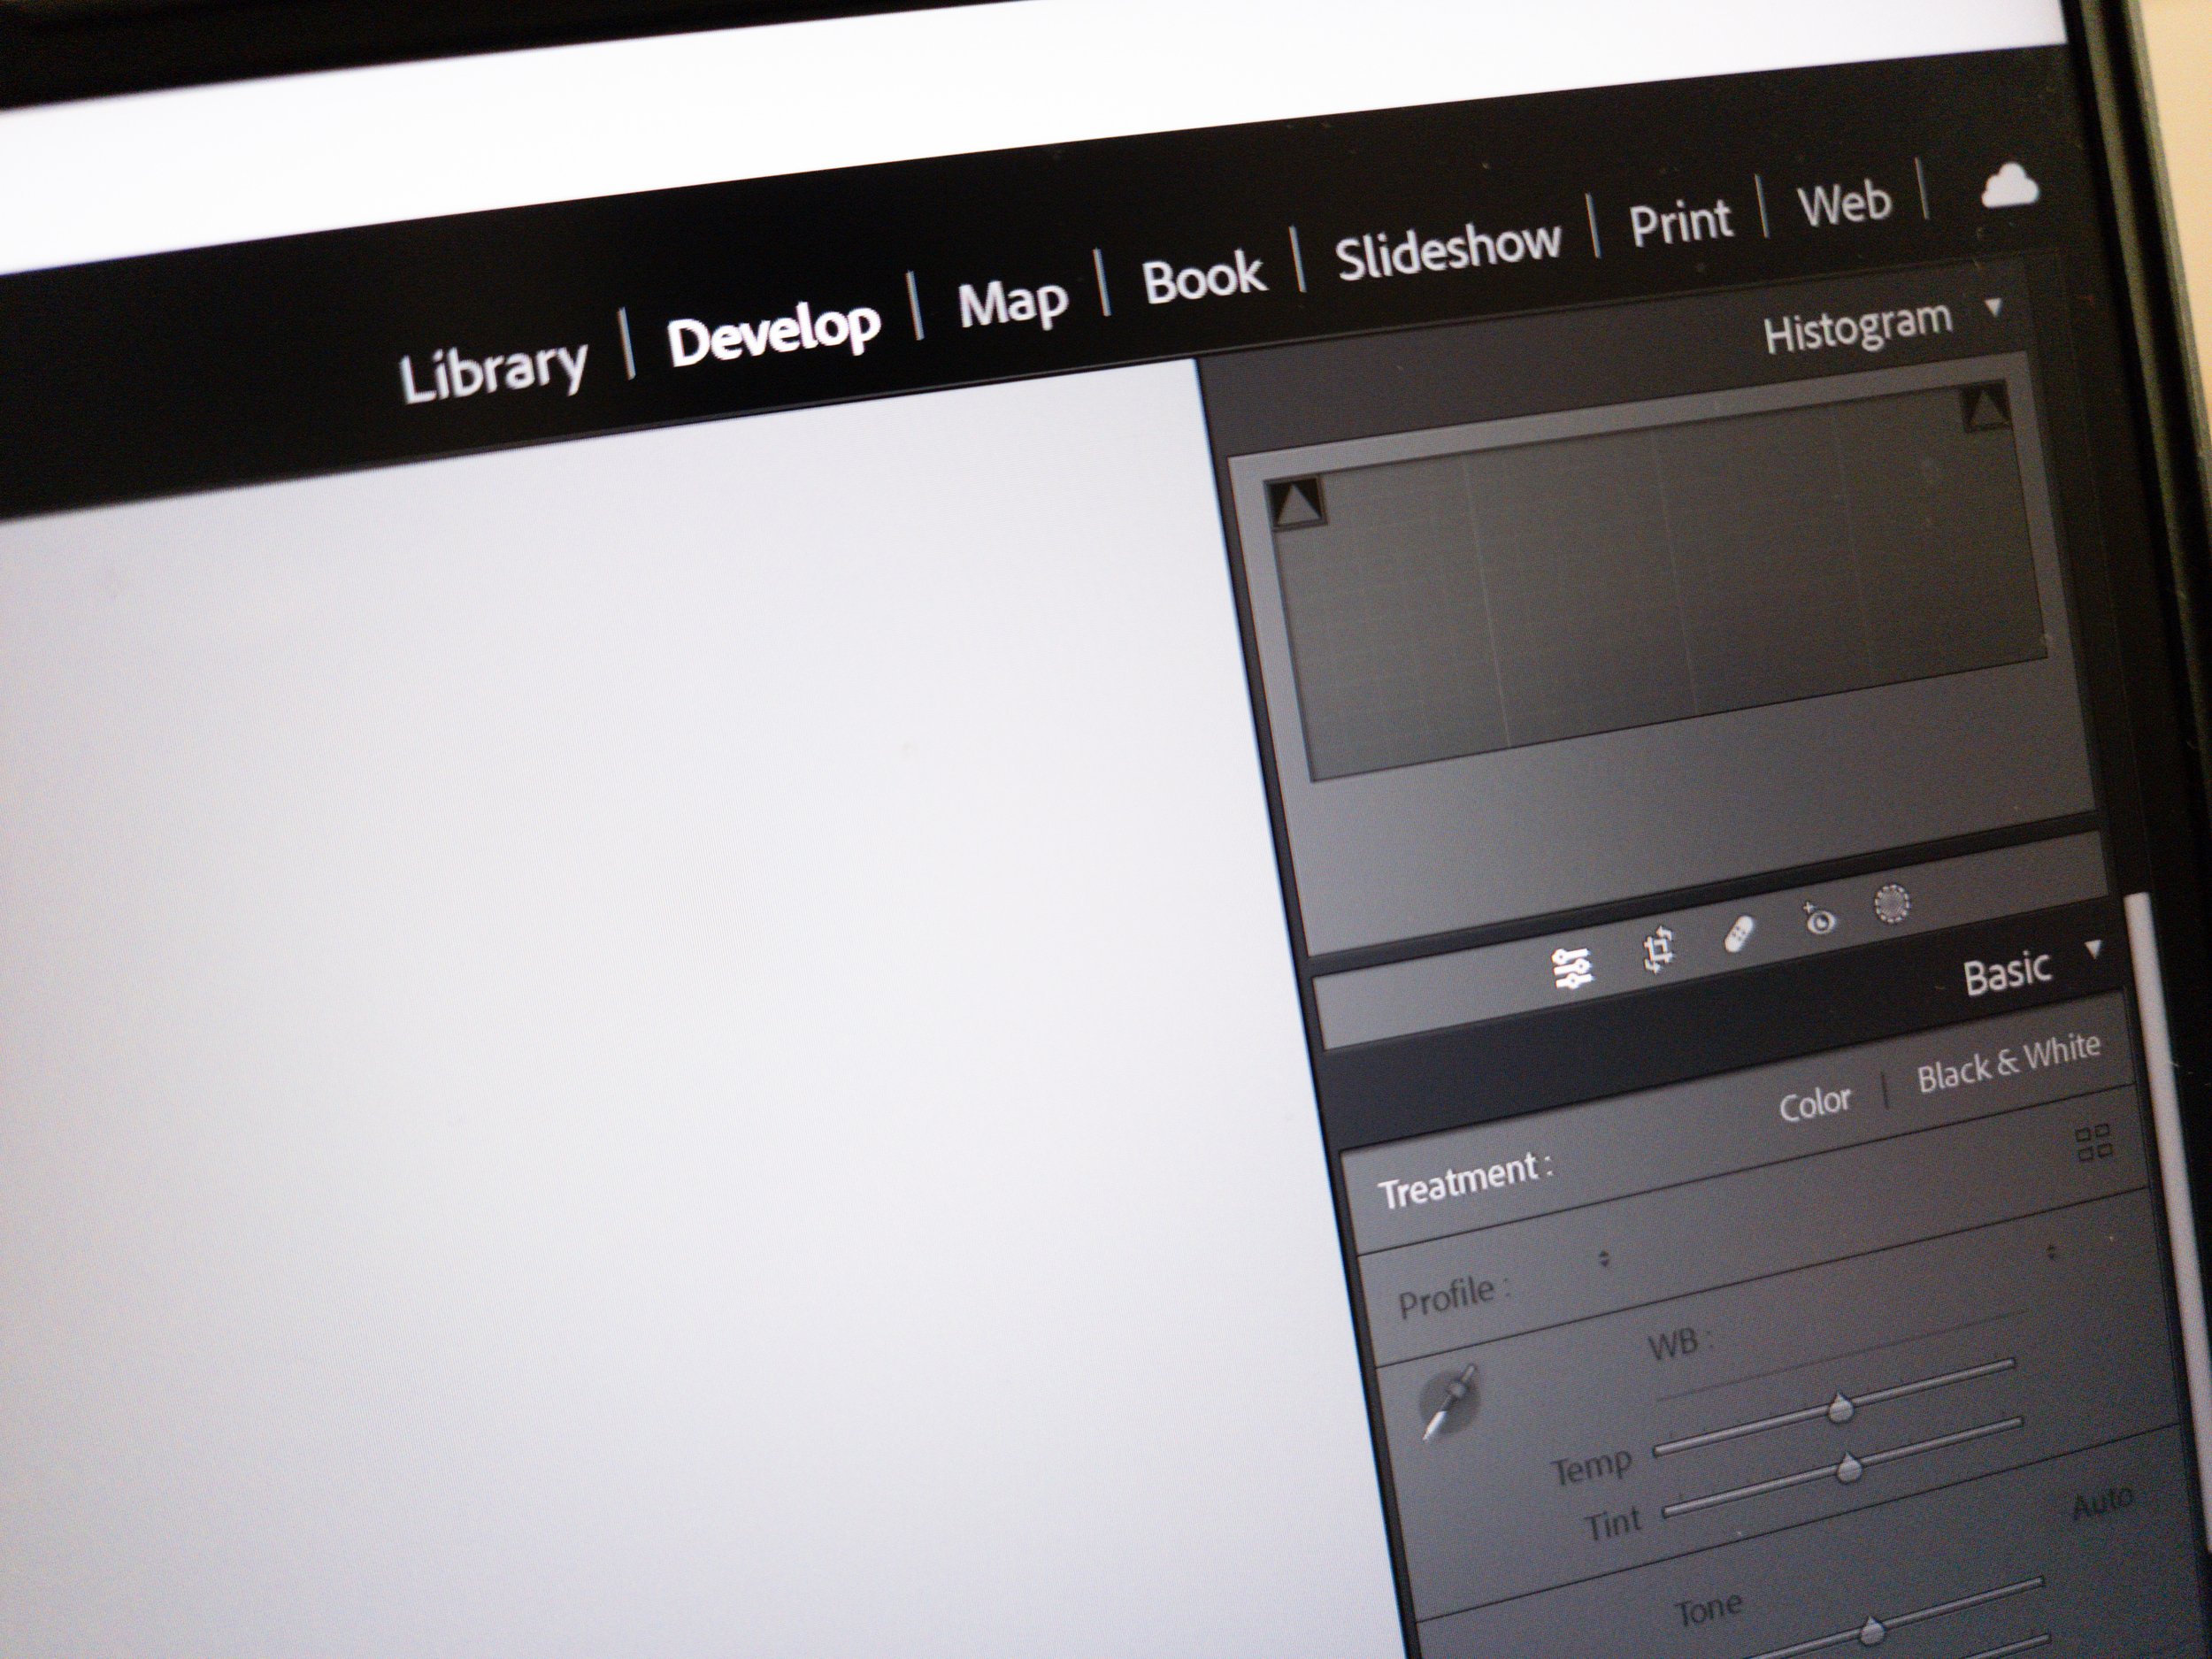
Navigate to the Develop Module: Click on the "Develop" module located at the top right of the screen. This is where you will find the preset panel.
Locate the Preset Panel: On the left side of the Develop module, you will see a panel labeled "Presets." Click on the small plus icon (+) next to the panel name.
Import Presets: In the dropdown menu, select "Import Presets." A file browser will appear, allowing you to navigate to the location where you saved the downloaded preset files.
Select Presets: Once you have located the preset files, select them and click "Import." Lightroom will automatically import the presets and make them available in the Presets panel.
Apply Presets: To apply a preset to a photo, simply click on the preset name in the Presets panel. Lightroom will instantly apply the preset's settings to the selected photo.
Installing Lightroom Presets on Mobile
If you prefer to edit on the go using Lightroom's mobile app, follow these steps to install the presets:
Download Adobe Lightroom App: If you haven't already, download and install the Adobe Lightroom app from the App Store (iOS) or Google Play Store (Android).
Import Presets: After downloading the presets to your mobile device, open the Lightroom app and sign in to your Adobe account.
Create a New Album: Tap on the "+" icon at the bottom of the screen to create a new album. Give it a name that will help you identify the presets you're about to import.
Import Presets: Open the newly created album and tap on the three-dot menu at the top right corner. From the dropdown menu, select "Add Photos." Navigate to the location where you saved the preset files and select them.
Apply Presets: Once the presets are imported, tap on one of the photos in the album to open it in the editing view. Swipe left or right to access the editing options, and then tap on the "Presets" tab at the bottom of the screen. Select the preset you want to apply, and it will be instantly applied to the photo.
Congratulations! You have successfully installed Lightroom presets on both desktop and mobile platforms. However, there may be instances where you encounter issues or face challenges while using presets. Let's address some common troubleshooting tips in the next section.
Lightroom Preset Troubleshooting
While Lightroom presets are designed to simplify your editing process, there can be instances where you encounter issues. Here are some common troubleshooting tips to help you overcome these challenges:
Missing Presets: If you have installed presets but they don't appear in Lightroom, double-check the installation process and ensure that the presets are saved in the correct location.
Compatibility Issues: Presets created for older versions of Lightroom may not work properly with the latest version. Make sure to check the compatibility of the presets with your version of Lightroom before installing them.
Resetting Adjustments: If you want to remove a preset's adjustments from a photo, simply click on the "Reset" button located in the Develop module. This will revert the photo to its original state.
If you still encounter issues despite following these troubleshooting tips, reach out to the preset creator or refer to the documentation provided with the presets for further assistance.
Tips for Using Lightroom Presets Effectively
Now that you have a solid understanding of how to install Lightroom presets, let's explore some tips to help you make the most out of them:
Customize Presets: Don't be afraid to tweak the preset settings to match your specific photo and desired outcome. Presets are a starting point, and adjusting individual settings can help you achieve the perfect look.
Organize Presets: As you accumulate a collection of presets, it's helpful to organize them into folders based on style, theme, or photographer. This will make it easier to locate and apply the desired presets.
Create Your Own Presets: Once you're comfortable with Lightroom editing, consider creating your own presets based on your preferred editing style. This will allow you to streamline your workflow and maintain consistency across your photos.
Experiment and Learn: Take the time to explore different presets and experiment with their settings. This will not only help you discover new editing techniques but also enhance your understanding of Lightroom's capabilities.
Conclusion
Now you're ready to elevate your editing game, save time and enhance your creative vision! By following this step-by-step guide, you can easily download and install presets on both desktop and mobile platforms. With the help of presets, you can achieve consistent results, explore new editing techniques, and unlock your creative potential. Let your imagination run wild, and let your presets bring your vision to life.
Happy editing!