
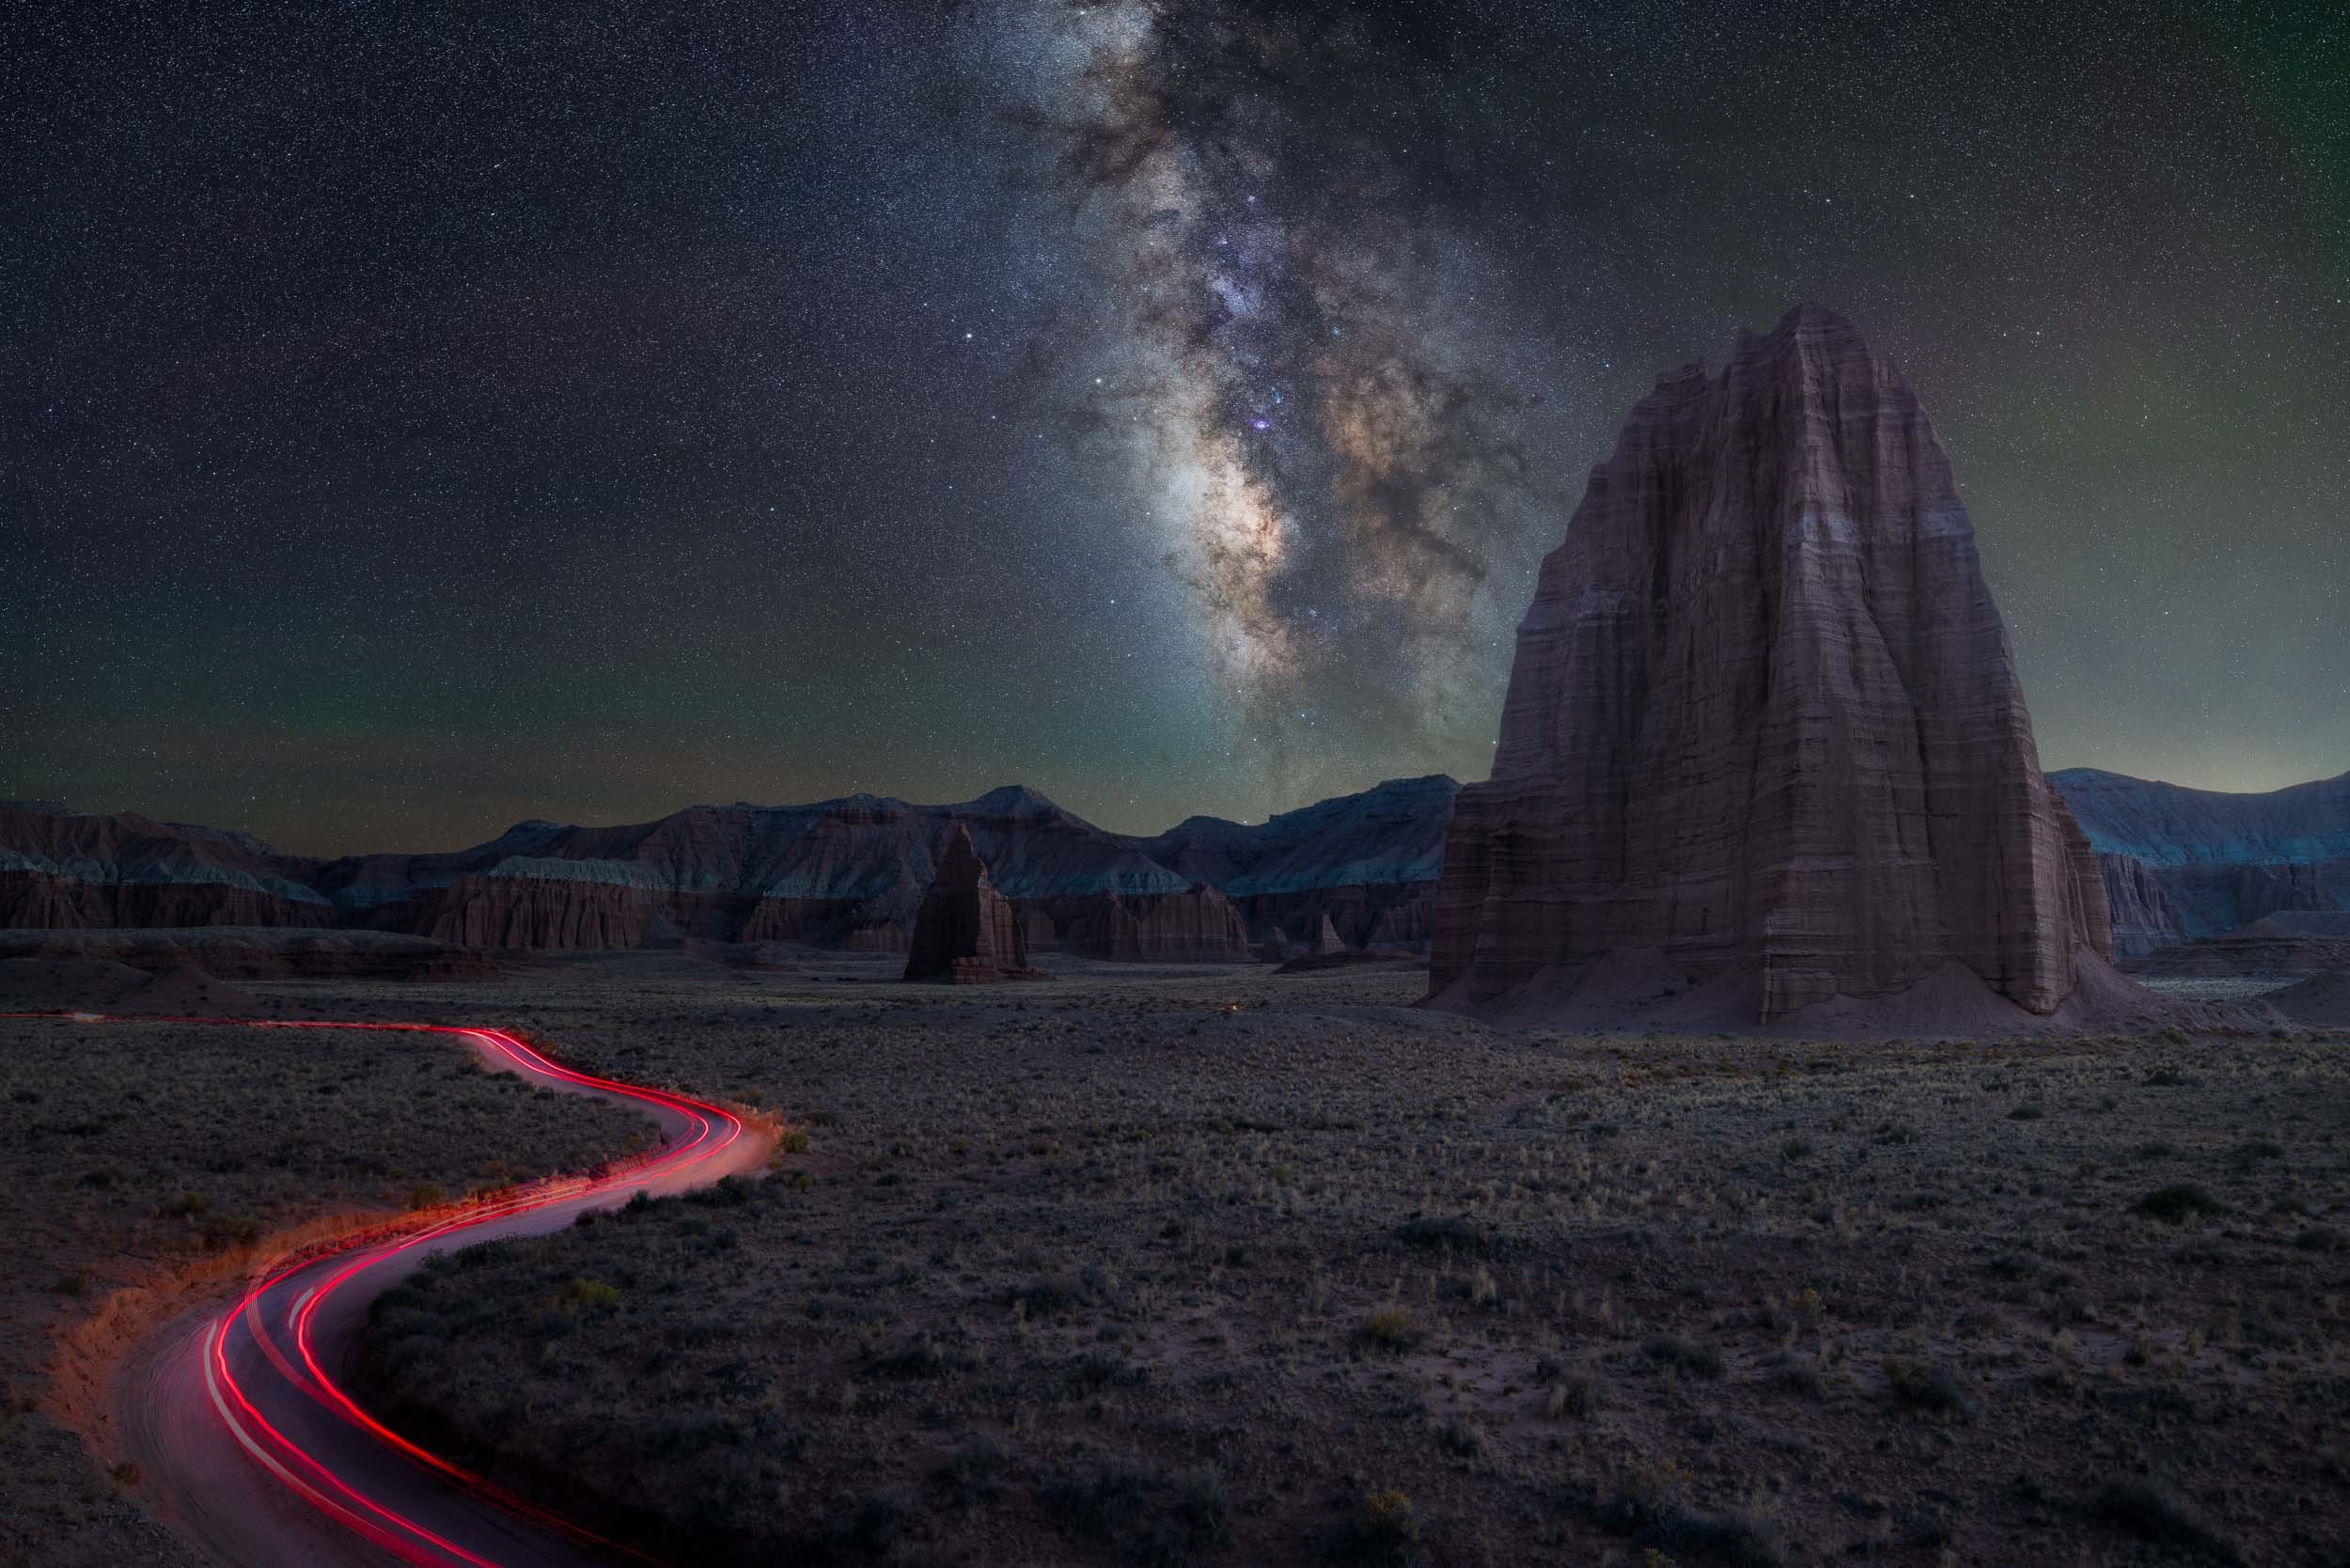
The Secret to Captivating Night Sky Landscapes: Demystifying the Astrophotography Rule of 500
Introduction to Astrophotography
Astrophotography is a fascinating art form that allows us to capture the beauty of the night sky. It involves using specialized techniques and equipment to photograph celestial objects such as stars, planets, and galaxies. One of the key elements in astrophotography is understanding how to capture long exposure shots without star trails. This is where the Astrophotography Rule of 500 comes into play if you want those pinpoint sharp stars in your images.
What is the Astrophotography Rule of 500?
The Astrophotography Rule of 500 is a simple guideline that helps you determine the maximum exposure time you can use to get the sharpest stars possible without capturing star trails. It states that you should divide 500 by the focal length of your lens to get the maximum exposure time in seconds. For example, if you are using a 50mm lens, the maximum exposure time would be 10 seconds (500 divided by 50).
Understanding the science behind the rule
To truly appreciate the Rule of 500, it's important to understand the science behind it. When capturing long exposure shots of the night sky, the Earth's rotation causes the stars to appear as streaks in the image. By limiting the exposure time, you can effectively freeze the motion of the stars and capture them as pinpoints of light. The rule takes into account the focal length of your lens, as longer focal lengths amplify the apparent motion of the stars.
Common mistakes to avoid when using the rule
While the Rule of 500 is a helpful guideline, there are some common mistakes to avoid. One mistake is not taking into account the crop factor of your camera. If you are using a camera with a crop sensor, you need to multiply the focal length by the crop factor before applying the rule and not all crop sensors are created equal! Another mistake is not considering the declination of the stars, as the Rule of 500 assumes that you are photographing stars near the celestial equator. If you are photographing stars closer to the poles, you may need to adjust the rule accordingly.
How to apply the rule in your astrophotography
Applying the Rule of 500 in your astrophotography to get pinpoint sharp stars is relatively straightforward. First some things you need to know, sensor size of your camera and focal length that you are shooting at. If you’re using a full frame camera or 35mm film, divide 500 by your focal length to calculate your maximum exposure time (500 / focal length = max length of exposure). However, if you are using a crop sensor, multiply your crop size by the focal length and then divide 500 by that number (500 / (crop * focal length) = max length of exposure).
Full Frame Example: 500/24=20.8 rounded is 21 seconds.
Crop Sensor Example: 500/(1.5*24)=13.9 rounded is 14 seconds.
Here is a convenient chart that you can utilize to quickly determine your maximum exposure time.

It is worth noting that crop sensors come in two different sizes. While most manufacturers adopt a 1.5 crop factor like Nikon, Fujifilm, Sony, and Pentax, Canon deviates from this norm with a 1.6 crop factor.
The 500 rule in practice
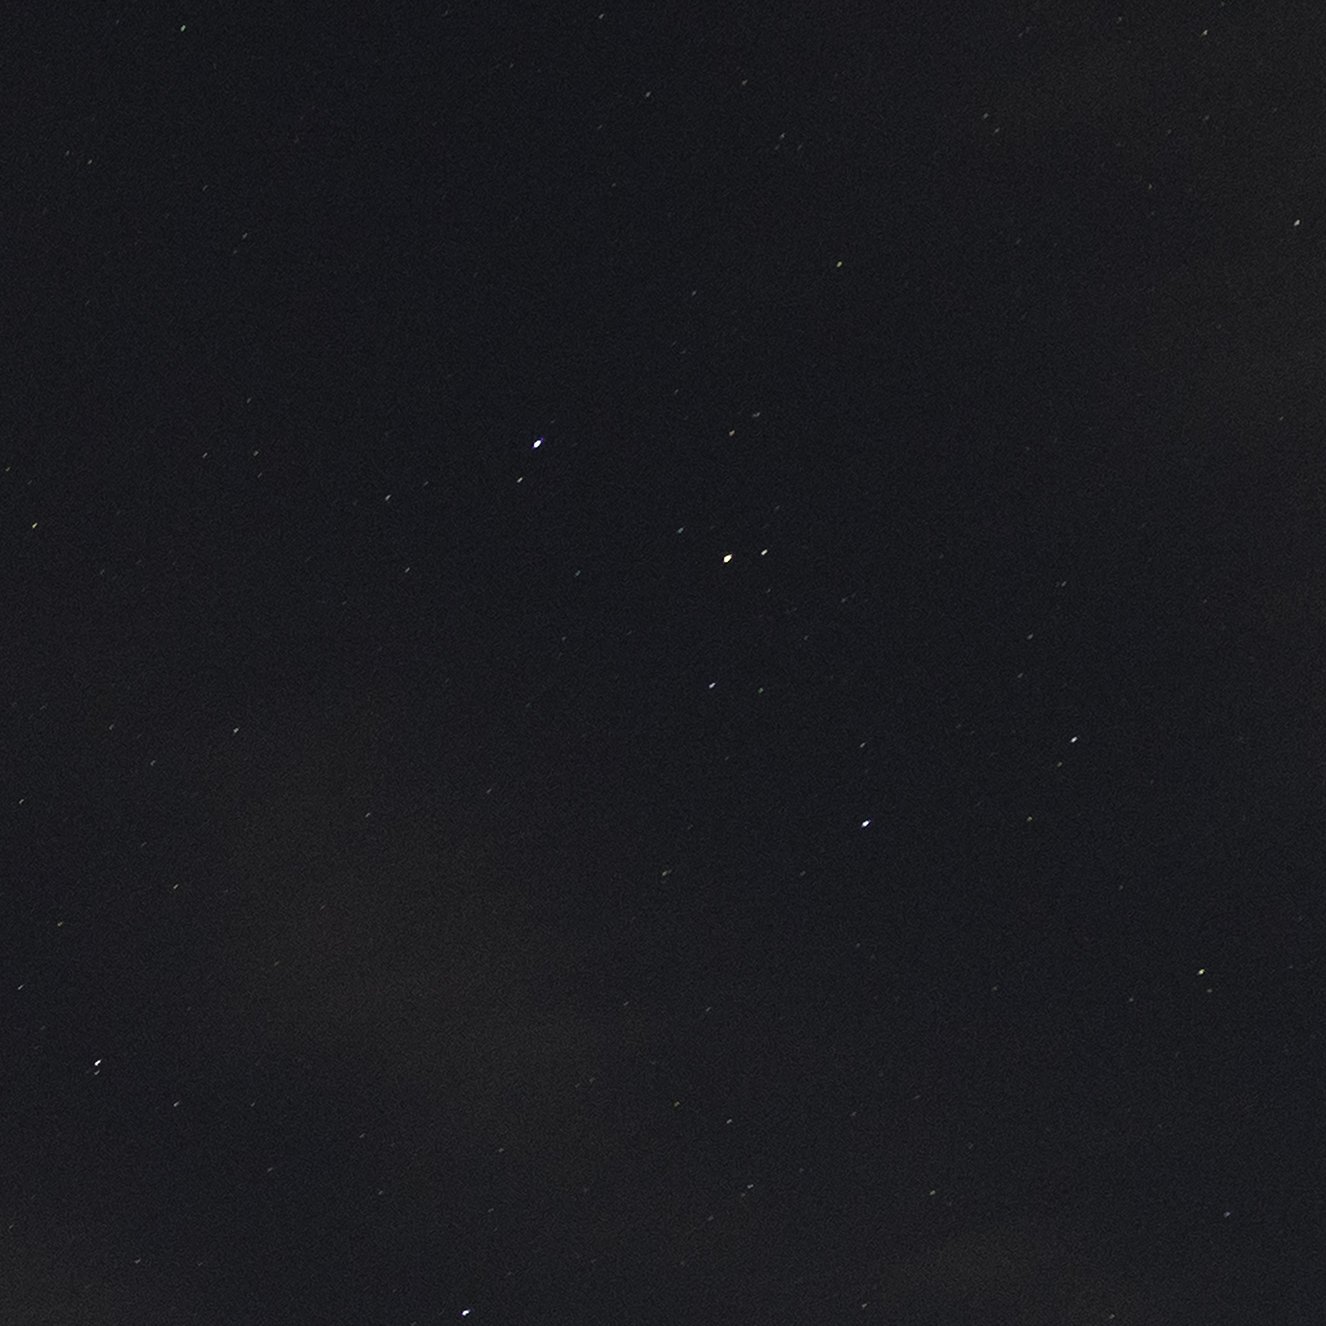
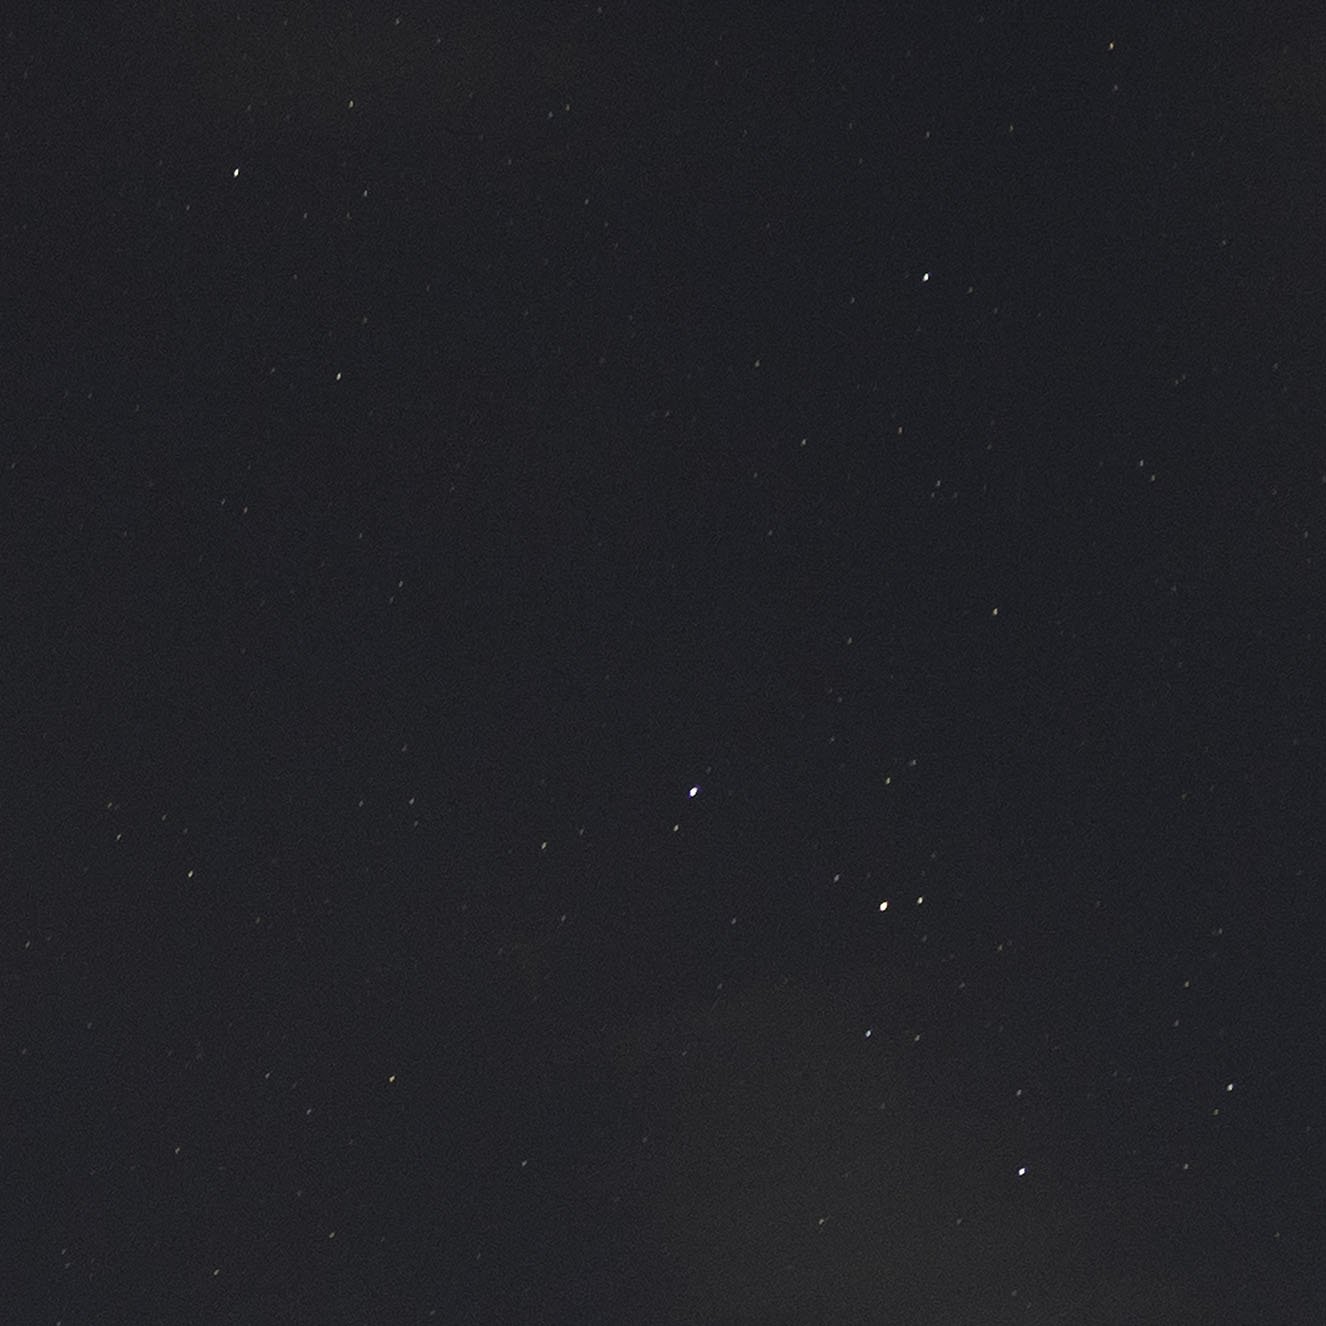
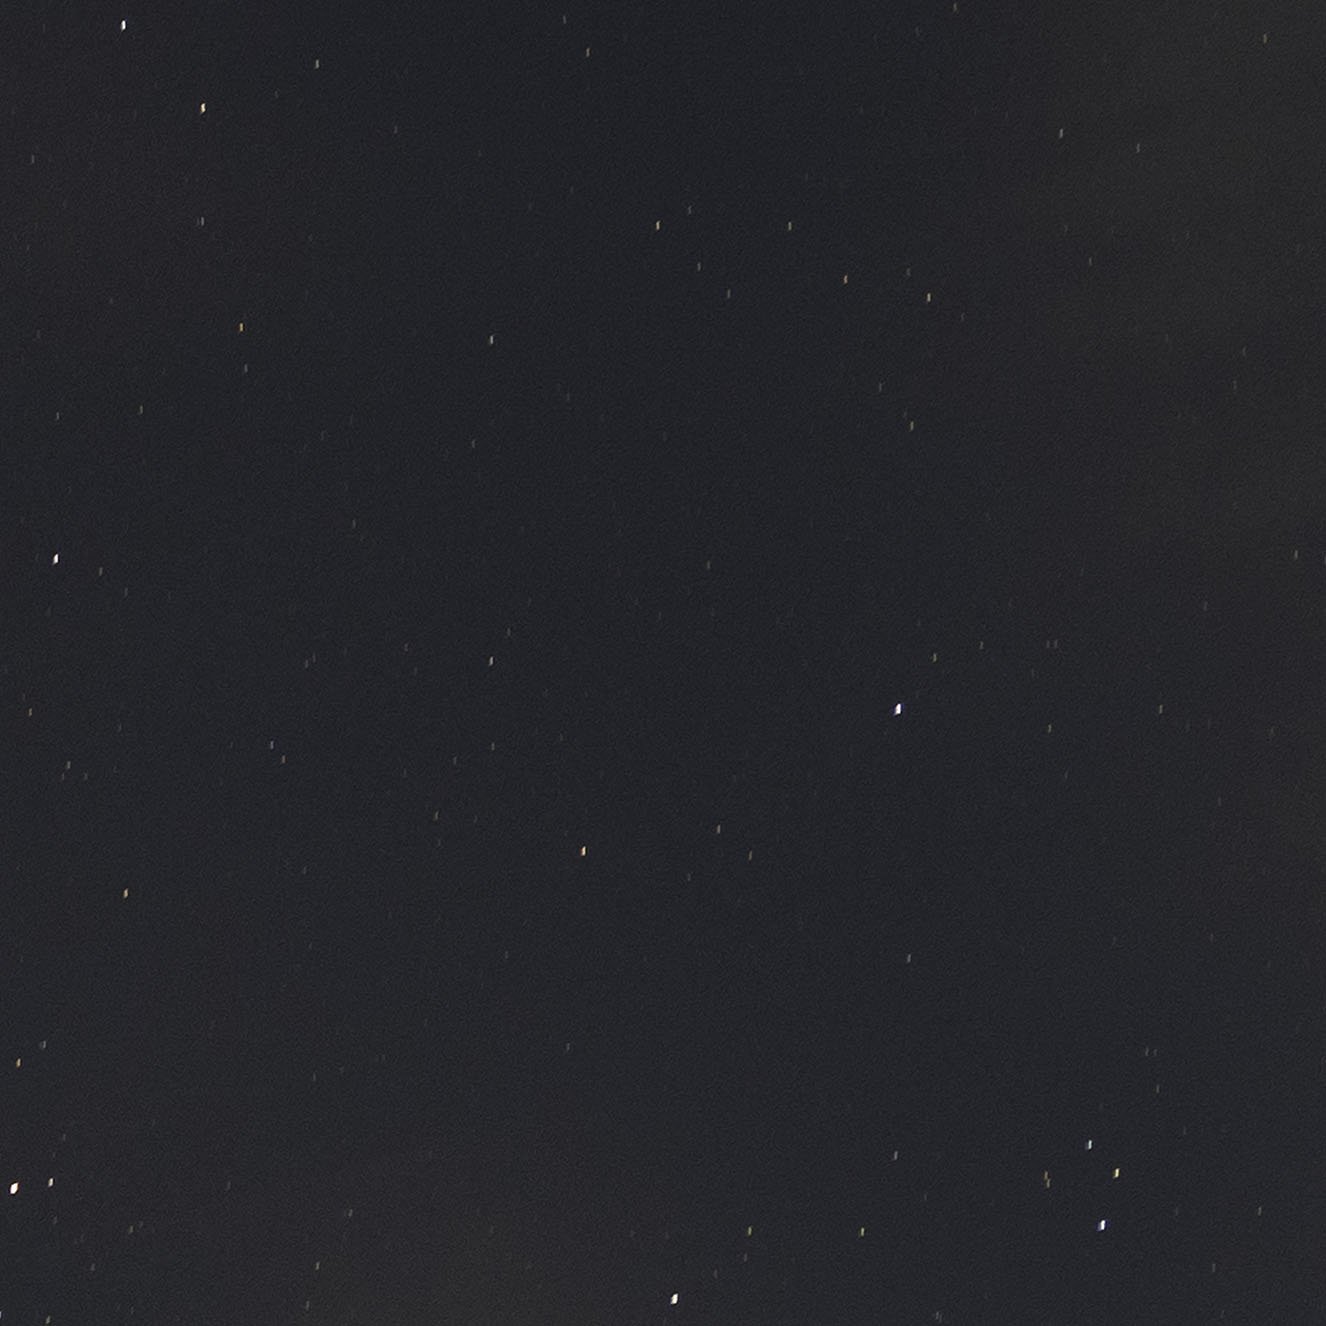
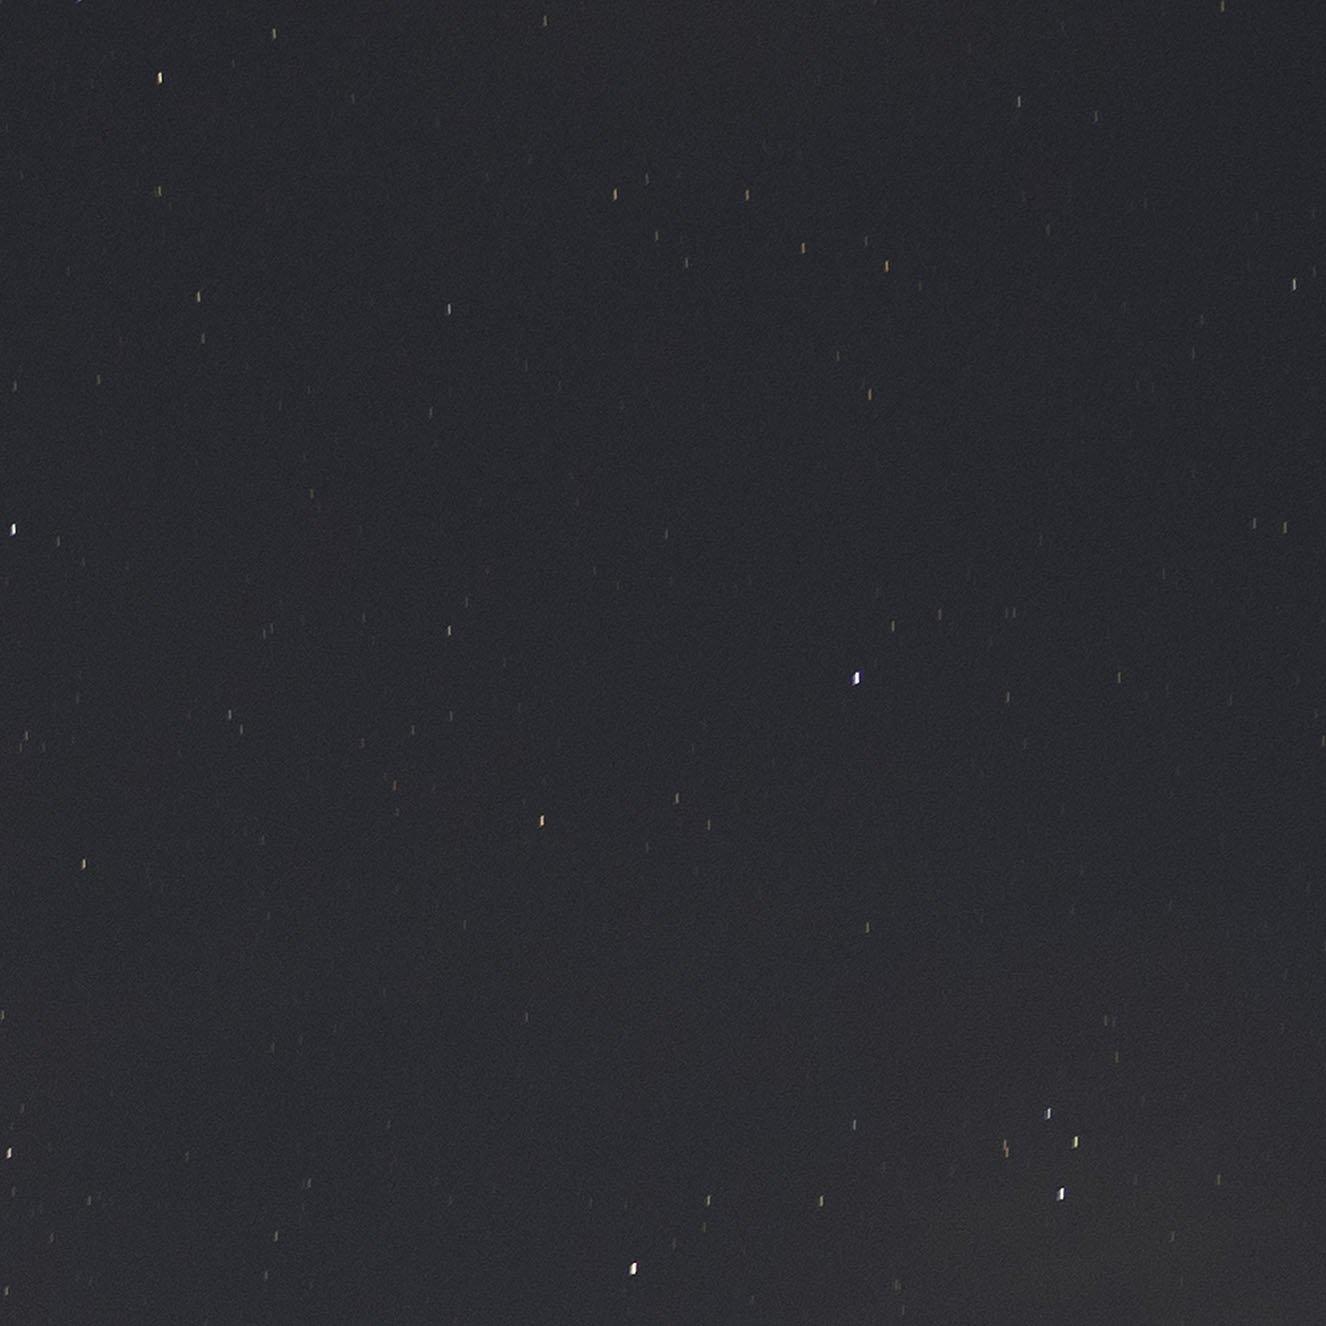
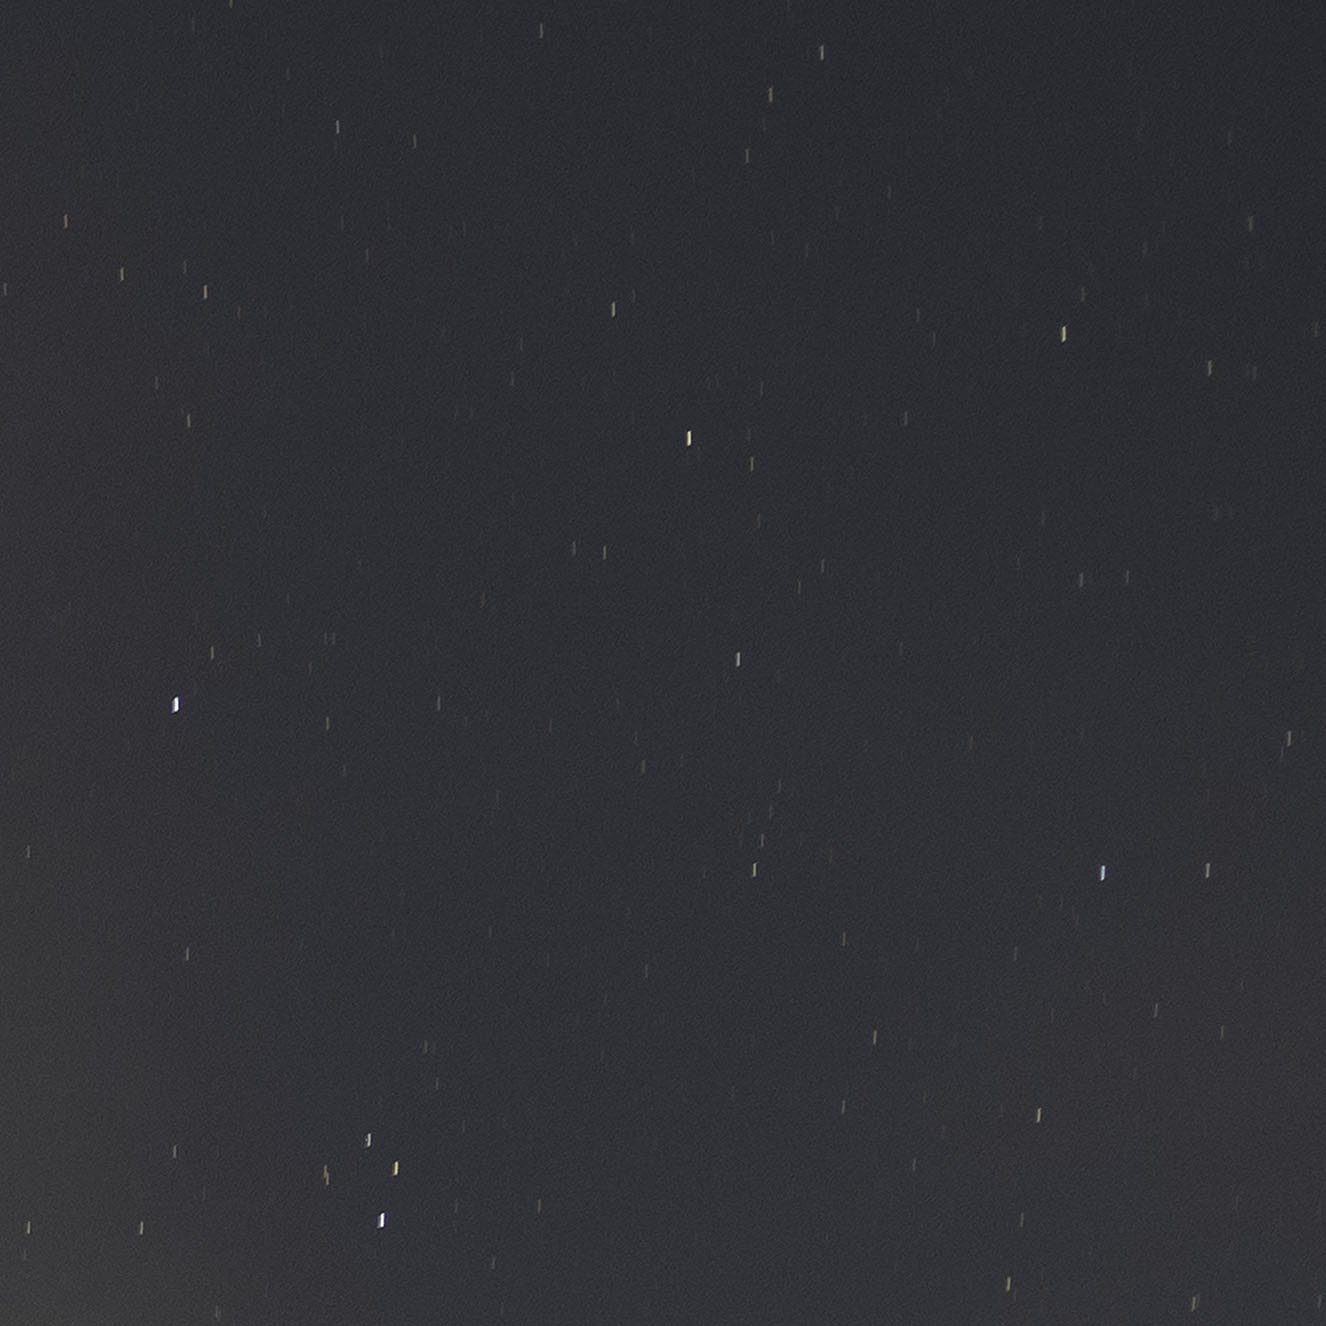
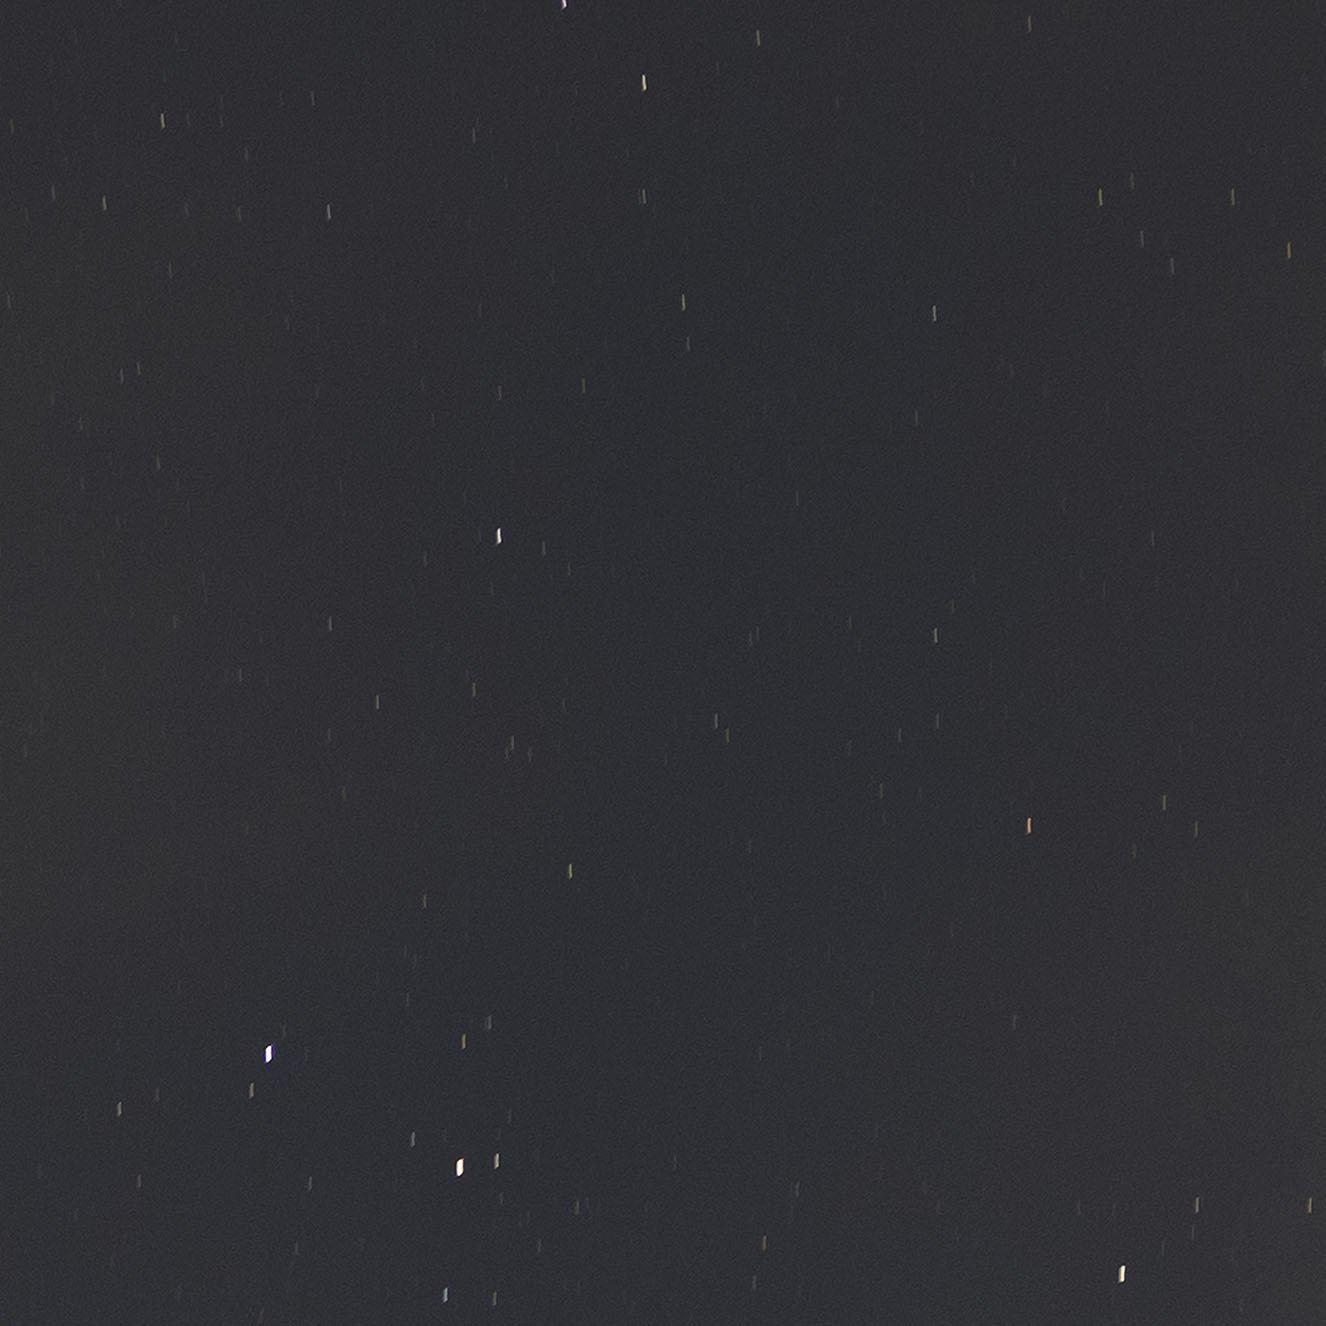
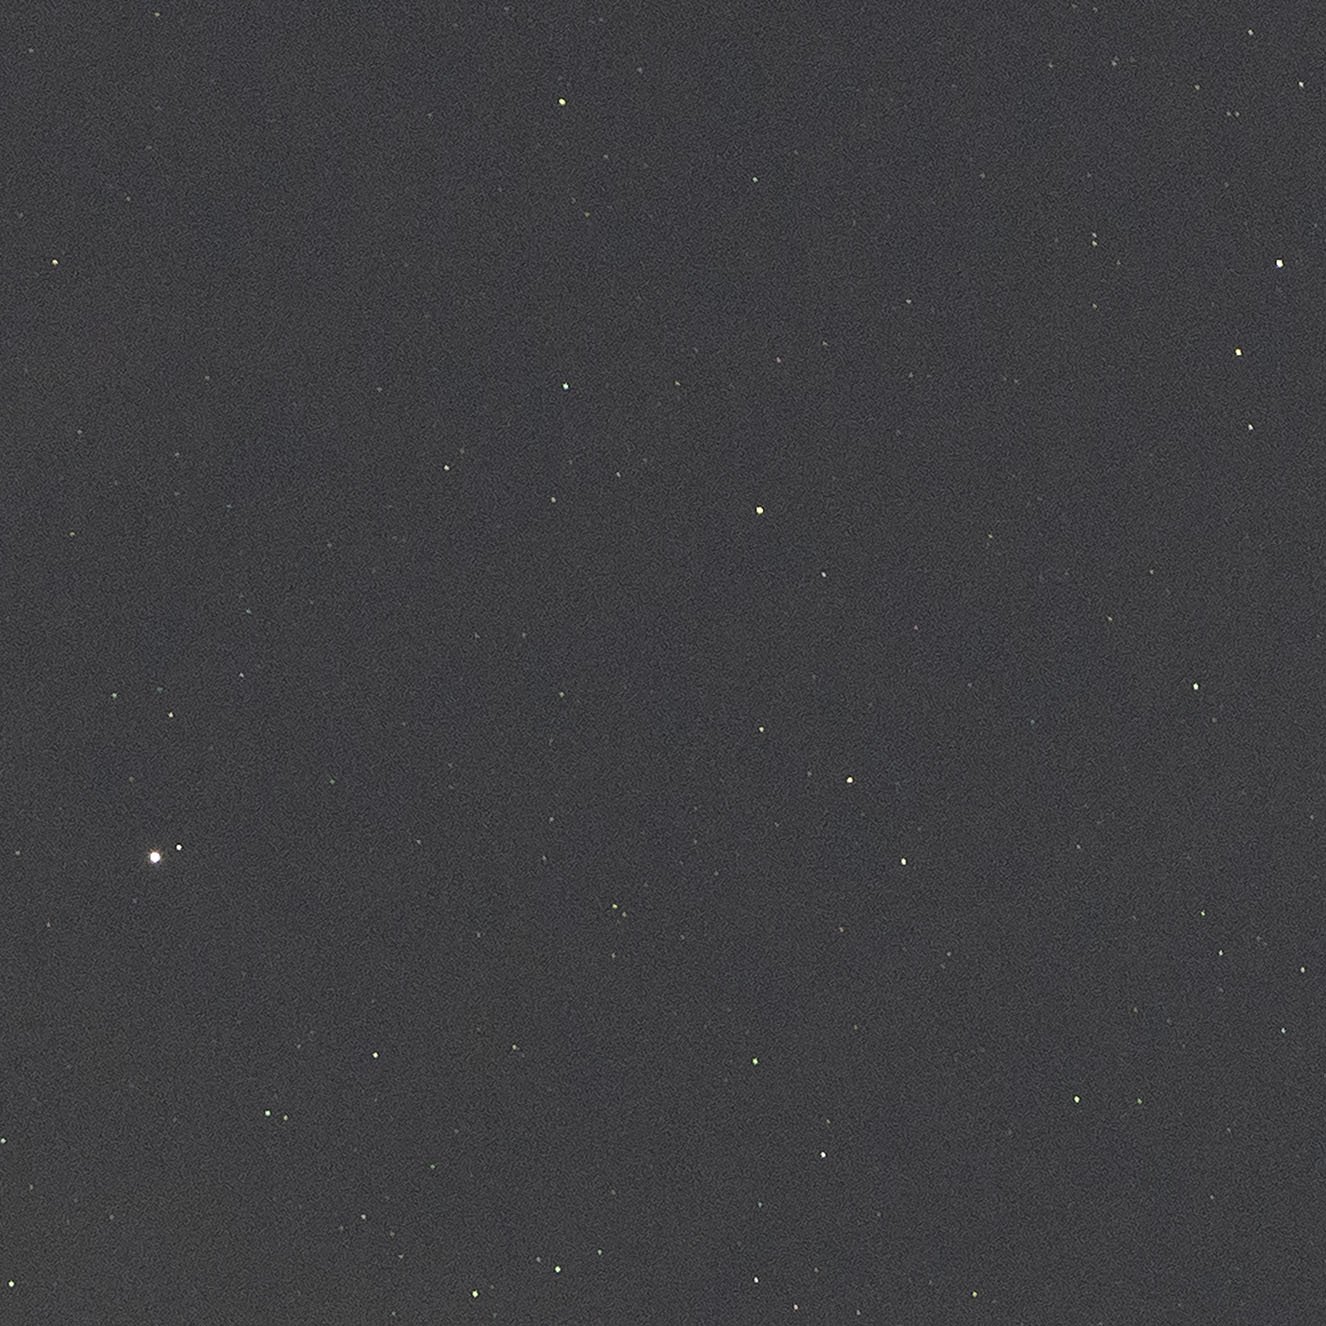
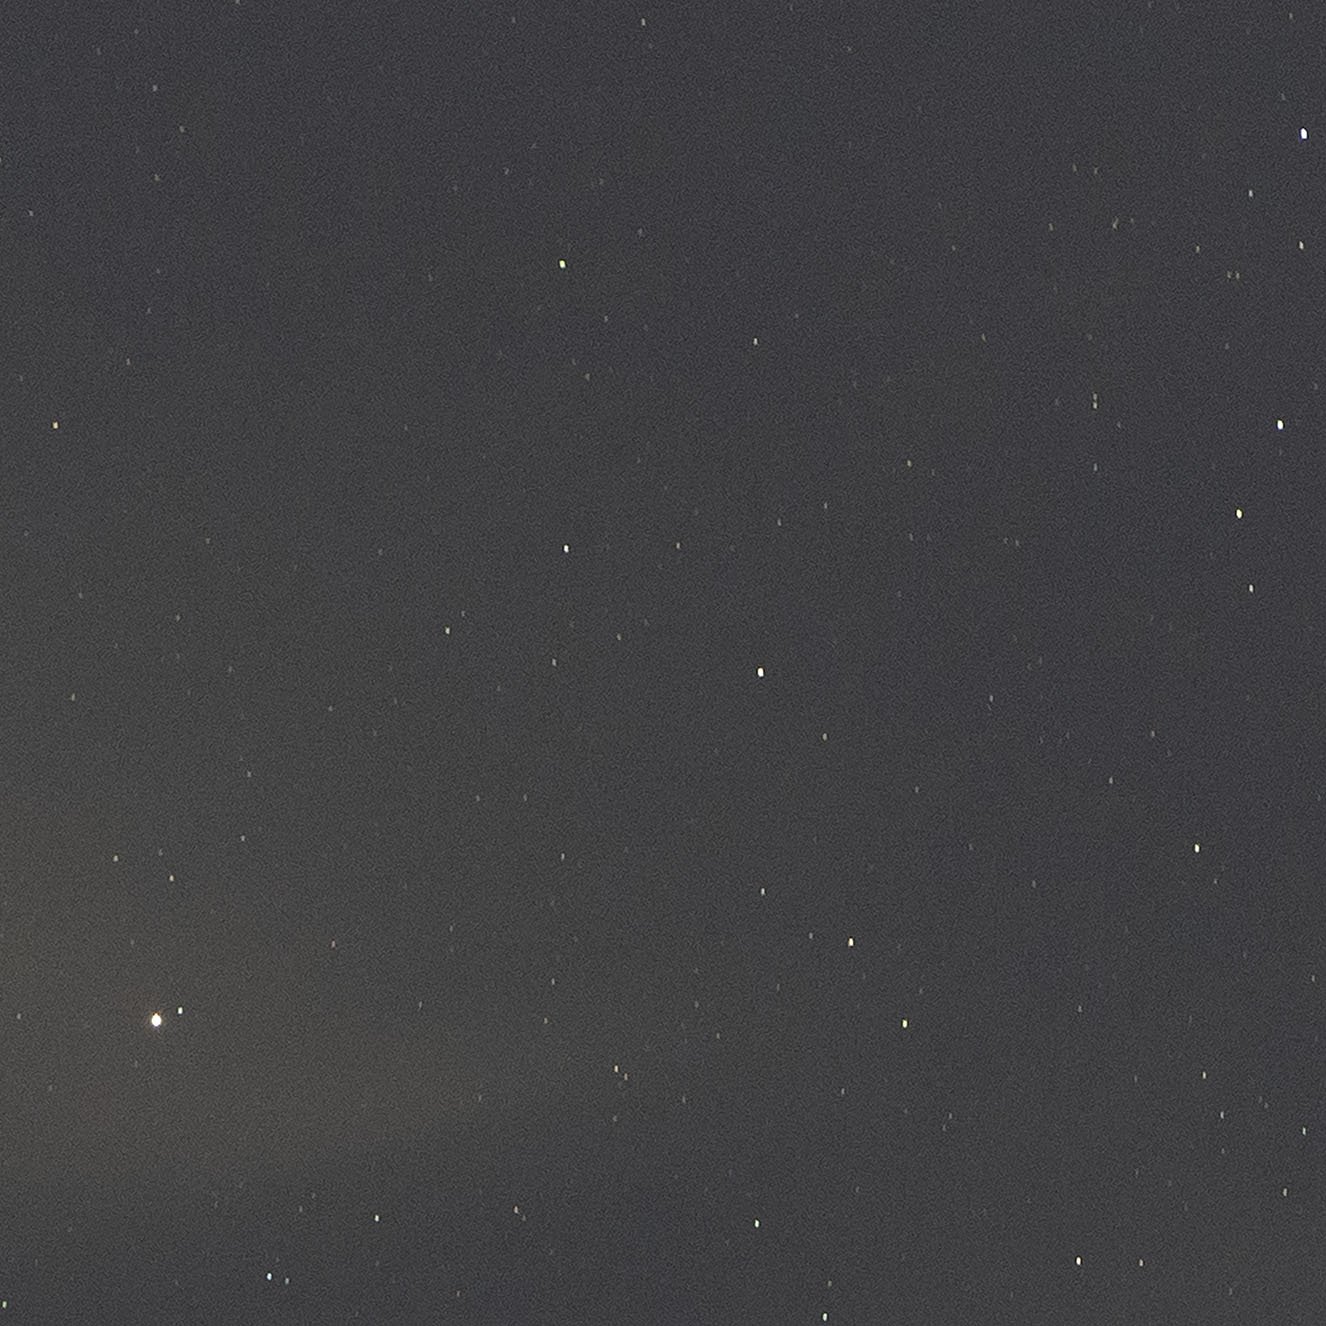
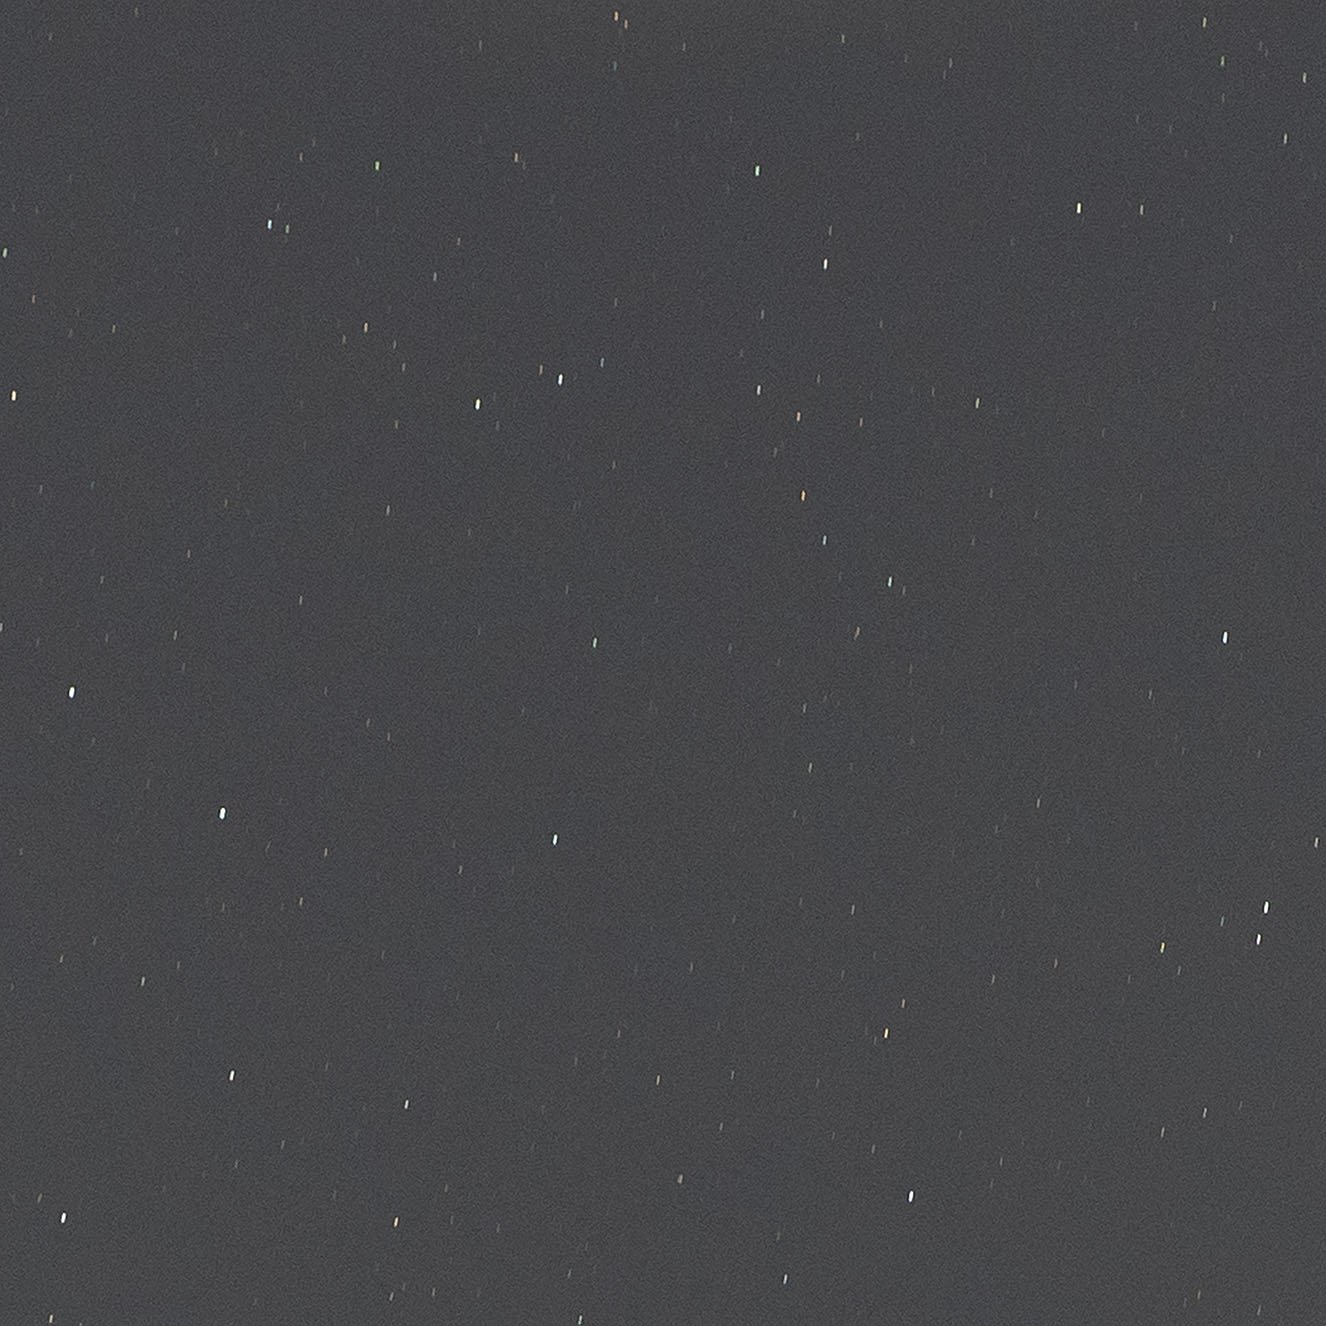
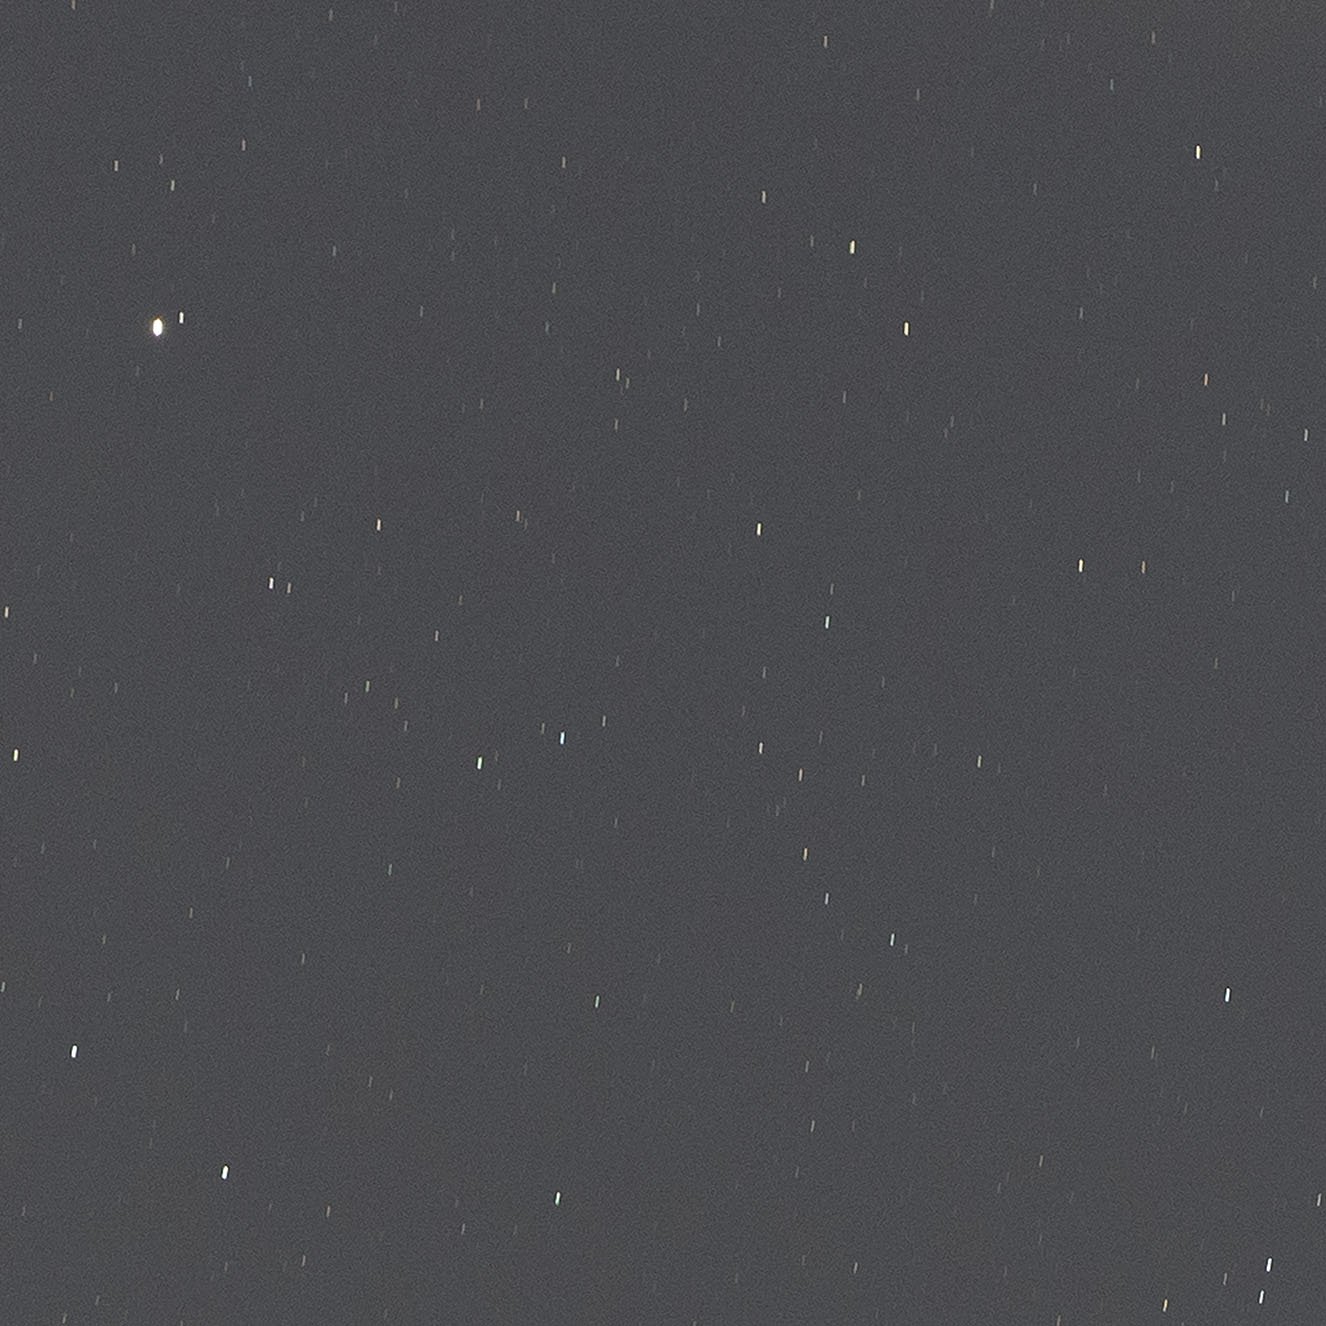
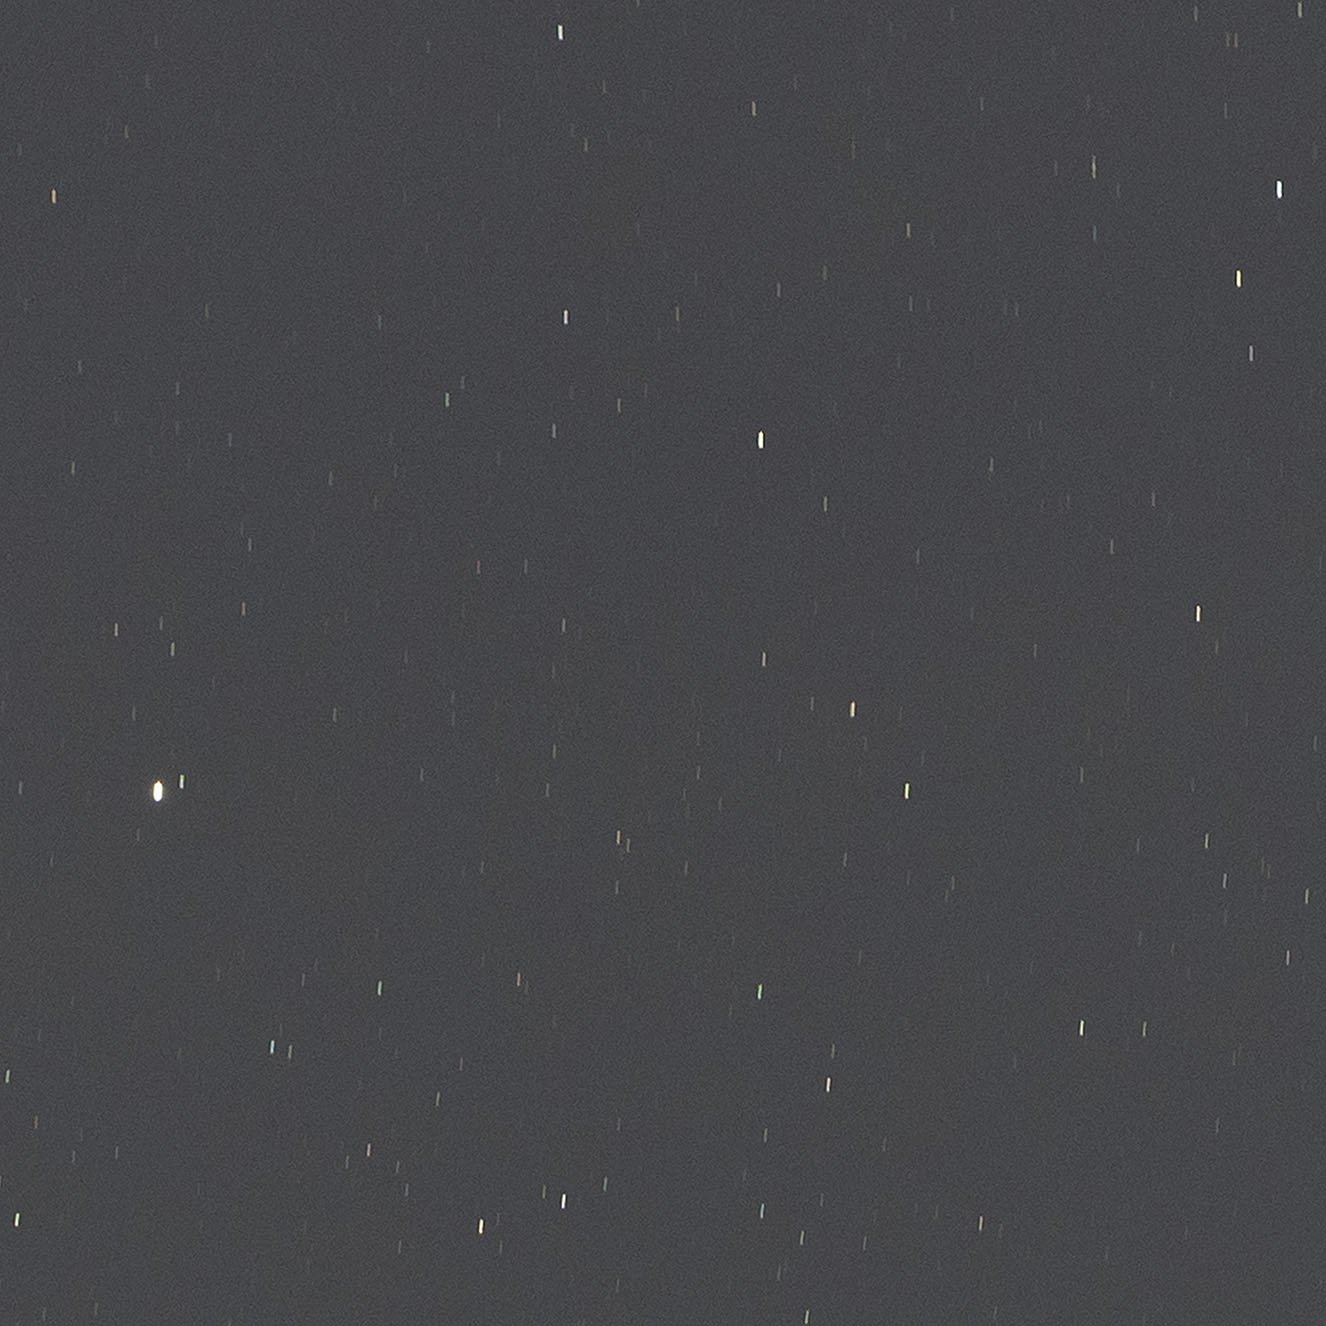
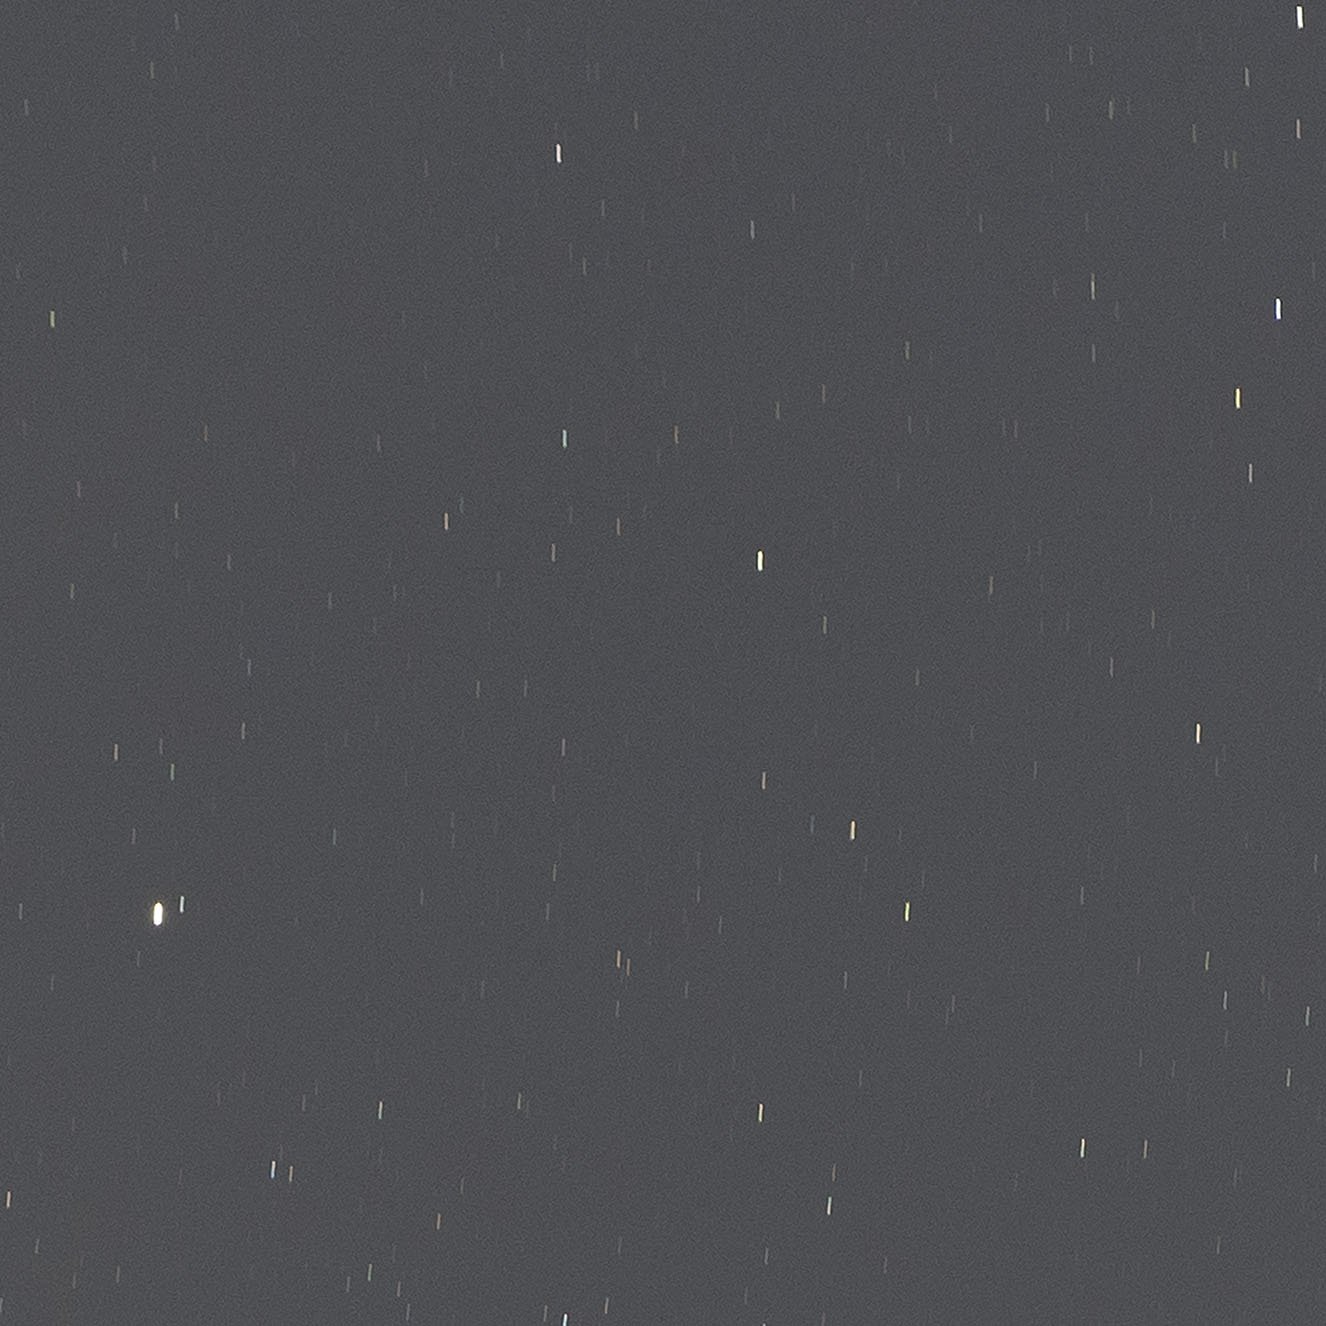
Here we will explore the practical application of the 500 rule using sample images taken with both a 24mm and 50mm lens. By varying the exposure time from 5 seconds to 30 seconds, we can observe the effects of different shutter speeds on capturing starry nightscapes.
Notice in these images as the exposure time increases the stars start to trail. With this you can determine the optimal exposure time for each lens length, ensuring that the stars are sharp and free from noticeable trailing. Remember, the 500 rule is a helpful guideline, but experimentation and personal preferences should also be considered when capturing stunning night sky photographs.
Tips and techniques for capturing captivating nighttime landscapes
Capturing captivating night sky landscapes goes beyond just applying the Astrophotography Rule of 500. Here are some additional tips and techniques to enhance your astrophotography:
Right time and location: While there are celestial objects all the time at the core of the milky way isn’t always visible. Also light pollution can greatly affect the quality of your astrophotography. Look for a location away from city lights to capture clearer and more detailed images of the night sky. For more information check out our other post Finding the Milky Way - Just look up!
Use a wide-angle lens: A wide-angle lens (less than 35mm) allows you to capture a larger portion of the night sky and more foreground elements creating a more immersive and dramatic image.
Experiment with different compositions: Don't be afraid to try different compositions and perspectives. Include interesting foreground elements such as rocks, trees, mountains, or buildings to add depth and context to your images. Also don’t be afraid of a partially overcast sky, cirrus clouds (those thin wispy clouds) can offer a dreamy element to your night sky image!
Consider the moon phase: The phase of the moon can impact the visibility of stars and other celestial objects. Plan your astrophotography sessions around the new moon, crescent moon phases, before moon rise or after moon set for darker skies.
Tools and apps to help you calculate exposure time
Calculating exposure time can be made easier with the help of various tools and apps. Here are some recommended options:
PhotoPills: PhotoPills is my go to app! It’s a powerful app that includes a feature called "Night AR" which uses augmented reality to show you the position of stars and helps you plan your astrophotography sessions along with a whole host of other tools including “Spot Stars” a tool to calculate the 500 Rule for those that are mathematically challenged like me!
The Photographer's Ephemeris: This app provides detailed information about the position of celestial objects, moon phases, and other relevant data for astrophotography planning.
Stellarium: Stellarium is a free and open-source planetarium software that simulates the night sky. It can help you visualize the position of stars and calculate exposure times.
Advanced astrophotography techniques beyond the Rule of 500
While the Astrophotography Rule of 500 is a valuable tool, there are advanced techniques that can take your astrophotography to the next level. These include:
Image stacking: By capturing multiple long exposures and stacking them together using software, you can reduce noise and enhance details in your astrophotography.
Tracking mounts: Using a motorized tracking mount (also known as a star tracker) allows your camera to follow the motion of the stars, enabling longer exposure times and capturing more intricate details.
Narrowband imaging: Narrowband filters can isolate specific wavelengths of light emitted by nebulae, enhancing their visibility and revealing stunning details that are otherwise difficult to capture.
Conclusion: Unlock the magic of nighttime landscapes with the Astrophotography Rule of 500
The Astrophotography Rule of 500 is a simple yet powerful tool that can help you capture captivating night sky landscapes with pinpoint sharp stars. By understanding the science behind the rule and applying it along with other astrophotography techniques, you can unlock the magic of the night sky and create stunning images that inspire awe and wonder. So grab your camera, find a dark location, and let the Rule of 500 guide you on your astrophotography adventures.